Creating a GitHub Repository
Create repo on GitHub
-
Create a GitHub Account (if you don't have one): If you don't already have a GitHub account, you'll need to sign up for one. Visit the GitHub website (opens in a new tab) and follow the steps to create your account.
-
Sign In to GitHub: Once you have an account, sign in to GitHub using your credentials.
-
Create a New Repository:
- Click on the "+" sign in the top right corner of the GitHub homepage.
- Select "New repository" from the dropdown menu.

-
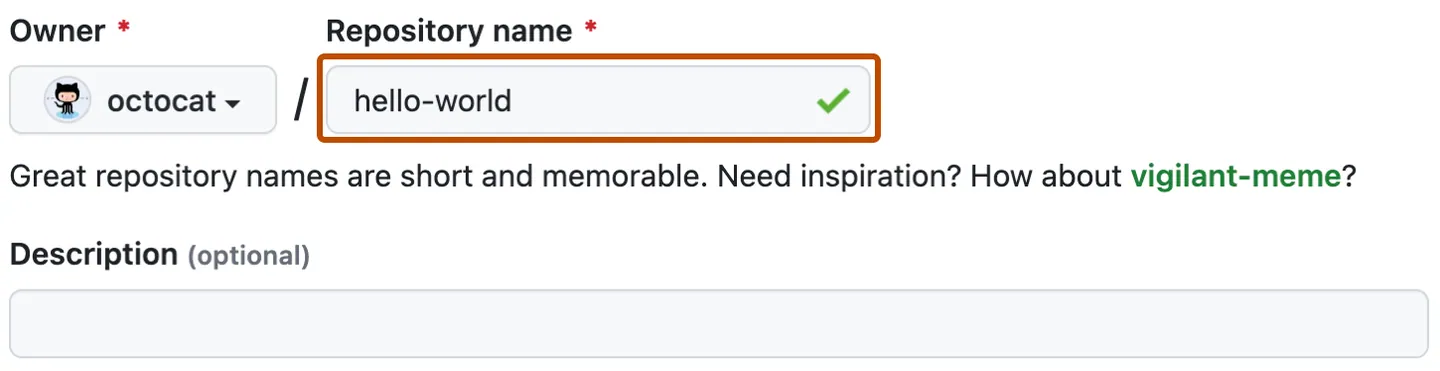
Fill in Repository Details:
- Choose a repository name. This name will be part of the repository's URL (e.g.,
https://github.com/your-username/repository-name). - Add an optional description to provide information about your project.
- Choose the repository's visibility (public or private). Note that public repositories are visible to anyone, while private repositories are only visible to you and collaborators.
- Select Initialize this repository with a README.
- Select other options as needed, adding a .gitignore file, or choosing a license.
- Choose a repository name. This name will be part of the repository's URL (e.g.,
-
Create the Repository: Click the "Create repository" button to create the GitHub repository.
-
Clone the Repository Locally: Now that you have a GitHub repository, you'll want to clone it to your local machine. To do this, use the "Clone" or "Code" button on your GitHub repository's page to get the repository's URL. Then, open your terminal and navigate to the directory where you want to create your local project folder. Run the following command, replacing
<repository-url>with the URL you copied:git clone <repository-url>